

Create Stunning Websites with Squarespace: Your Ultimate Guide
In today’s digital world, having a stunning website is essential for any personal brand, business, or online store. With platforms like Squarespace, creating a professional website has never been easier. Whether you’re a beginner or someone looking to revamp an existing site, Squarespace offers intuitive tools, sleek templates, and customizable features that help bring your vision to life.
In this blog, I’ll walk you through my personal experience of using Squarespace, share all the essential features, and guide you on how you can create a beautiful website from scratch, even if you don’t have a background in web development.

1. Why Choose Squarespace for Your Website?

When I first started creating websites, I was overwhelmed by the complexity of platforms like WordPress and the limitations of free website builders. After researching various options, I decided to try Squarespace, and I haven’t looked back since. Here’s why:
a. Easy-to-Use Drag-and-Drop Builder:
Squarespace’s drag-and-drop functionality makes it incredibly simple to add and organize elements on your site. I remember being able to add images, text, and buttons with ease, all without touching a line of code. This feature is perfect for someone like me, who loves creative freedom but isn’t a tech expert.
b. Stunning Templates:
Squarespace offers an array of beautifully designed templates, which can be customized to suit your needs. I chose a template from their “Brine” family, known for its clean design and easy navigation. The best part? The templates are mobile-responsive, ensuring your website looks amazing on all devices.
c. All-in-One Platform:
From hosting to analytics, Squarespace offers everything in one place. This eliminates the hassle of juggling multiple services. I didn’t have to worry about finding third-party hosting or paying for a separate domain—everything is managed within the Squarespace platform.
2. How to Create a Stunning Website with Squarespace
Now that you know why Squarespace is such a great choice, let’s get into how you can create your website step by step.
Step 1: Choose a Template

Squarespace offers over 100 professionally-designed templates. Once you sign up and log in, you can browse through the categories (business, portfolio, online store, etc.) to find the one that best suits your style.
Personal Experience Tip:
If you’re unsure which template to choose, don’t worry! You can always switch templates later without losing your content. This was a game-changer for me when I initially started my website. I was able to experiment with different designs until I found the perfect one.
Step 2: Customize Your Design

Personal Experience Tip:
Squarespace has an easy-to-use Style Editor that lets you tweak every aspect of your design. I loved how simple it was to adjust the colors to match my branding and how easy it was to upload my photos to give the site a personal touch.
You can also add and rearrange sections on your page (e.g., a header, about section, portfolio, or testimonials). One of my favorite features is the Cover Pages for landing pages, which make it easy to create a stunning introduction for visitors.
After selecting a template, the fun begins—customizing it! Squarespace’s Site Editor allows you to change everything from colors and fonts to the layout and images.
Step 3: Add Content
With Squarespace, adding content is straightforward. You can include:
- Text blocks for information and descriptions
- Image blocks for galleries or single images
- Video blocks to embed YouTube or Vimeo videos
- Button blocks for calls to action, such as “Contact Us” or “Buy Now”
Personal Experience Tip:
One of the things I appreciated was the ability to drag and drop content where I wanted it. This gave me total control over my website’s layout and flow, ensuring a seamless design that matched my vision.
Step 4: Set Up E-Commerce (If Needed)

If you want to sell products online, Squarespace makes it incredibly easy to set up an online store. I was able to add products, set prices, and create product pages in minutes. They also offer integrations for payment gateways like PayPal and Stripe, making the transaction process secure and smooth.
Personal Experience Tip:
Squarespace’s inventory management system made keeping track of my orders so easy. I could also set up automatic taxes, shipping options, and even discount codes for special promotions. It took my online store to the next level without the need for complex coding.
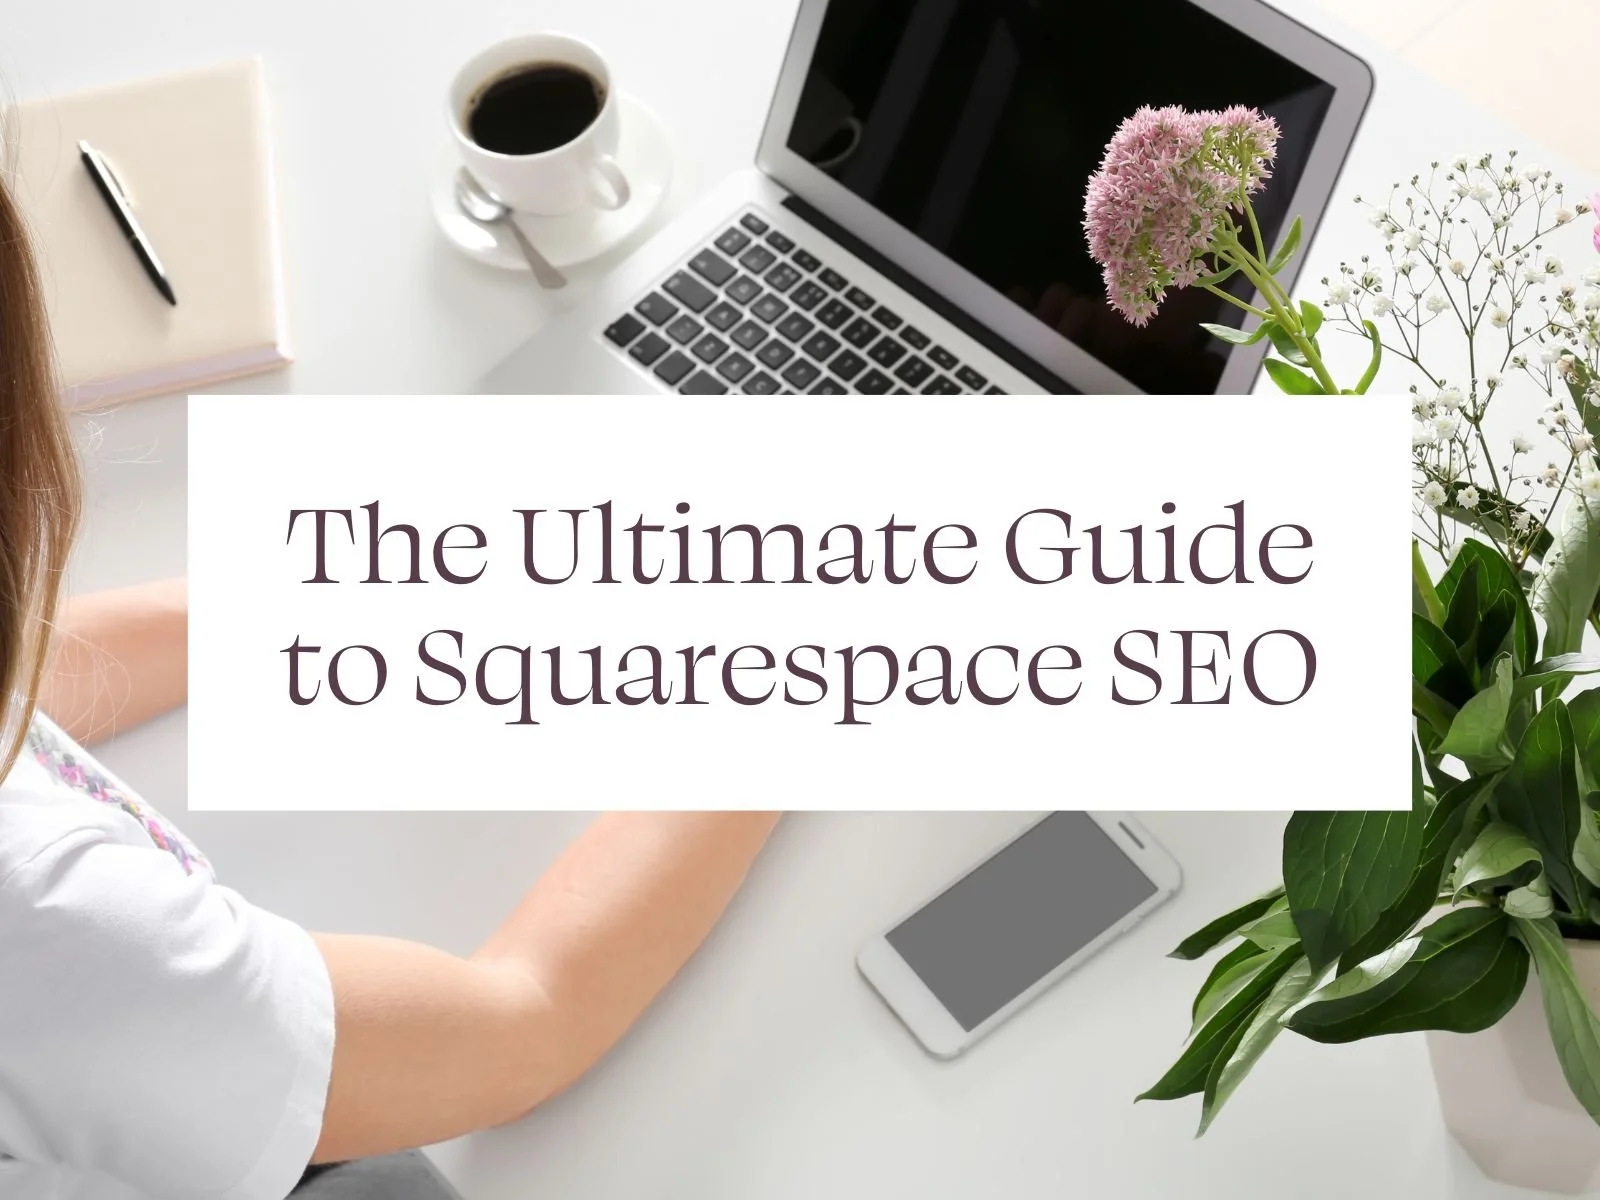
Step 5: Optimize for SEO
Squarespace automatically adds basic SEO features for all pages, but you can further optimize them by:
- Adding page titles and meta descriptions
- Optimizing images for speed and SEO
- Using tags and categories for better search ranking
Personal Experience Tip:
Squarespace has a SEO checklist built into the platform, which I found super helpful. It guided me through every step of making my site more search engine-friendly, from title tags to site speed. As a beginner, this was invaluable.
Step 6: Connect Your Domain
Once your website is ready, you can either purchase a domain directly from Squarespace or connect an existing one. If you choose to buy a domain through Squarespace, it’s as simple as typing in your desired URL and following the prompts.

Personal Experience Tip:
I opted to purchase my domain through Squarespace. The process was seamless, and I loved that it was all managed under one platform, so I didn’t have to deal with any third-party complications.
Step 7: Launch Your Site
After customizing and adding all the necessary content, it’s time to launch your site! Squarespace makes it easy to preview your website before going live, and once you’re satisfied, you can publish it with just one click.
3. Additional Features to Explore

Email Campaigns: Create and send newsletters directly from your Squarespace account.
Analytics: Track visitor behavior, traffic sources, and more.
Integrations: Connect with popular tools like Google Analytics, Mailchimp, and Social Media platforms.
24/7 Support: Access to customer service whenever you need it via chat or email.
While the basic setup is already fantastic, Squarespace offers even more features that can help elevate your website:
Conclusion
Building a website has never been easier, thanks to Squarespace. From their beautiful templates to their user-friendly customization tools, you can create a stunning website that looks professional, functions seamlessly, and captures your unique brand. My personal experience with Squarespace has been overwhelmingly positive, and I wholeheartedly recommend it to anyone looking to create a website—whether for a personal project, portfolio, or online store.
If you’re ready to get started, head over to Squarespace today and begin building your dream website!
The information provided in this blog is based on personal experience and is intended for informational purposes only.
#Squarespace #WebsiteDesign #CreateAWebsite #WebDesign #SquarespaceTips #EcommerceSite #WebDevelopment #Carrerbook #Anslation #WebsiteBuilder #OnlineStore #SEO #CreativeDesign


Leave a Reply